We collect basic website visitor information on this website and store it in cookies. We also utilize Google Analytics to track page view information to assist us in improving our website.
We hope the Getting Started page has inspired you to try your hand at native plant gardening. This page contains further nuts-and-bolts explanations to help turn your ideas into reality. Our Blog also contains helpful gardening tips, plant profiles, and ideas.
Although it is not often necessary to amend the soil when gardening with regionally-appropriate native stock, new planting beds should contain soil that is not compacted and that is free of weeds and grasses.
It’s a smart idea to do the initial bed preparation in fall or early winter, so the bed is ready for spring. You can create a brand-new garden bed from an existing area of lawn with the following steps:

Dig the bed: Use a spade to dig a trench along one side of the bed. Hold the spade at a right angle to the earth and take bites of soil about the width and depth of one spade.

Using the same technique, dig a second trench parallel to the first. Use your spade to turn over the soil, flicking it into the trench you dug in the previous step.

Continue this process for the entire bed area. Once you’ve dug the last trench, use the soil excavated from the first trench to fill it back in.
Remove weeds, rocks, and any other debris.
Use a cultivator to go over the soil, breaking up any large clods of earth, and finding additional weeds.
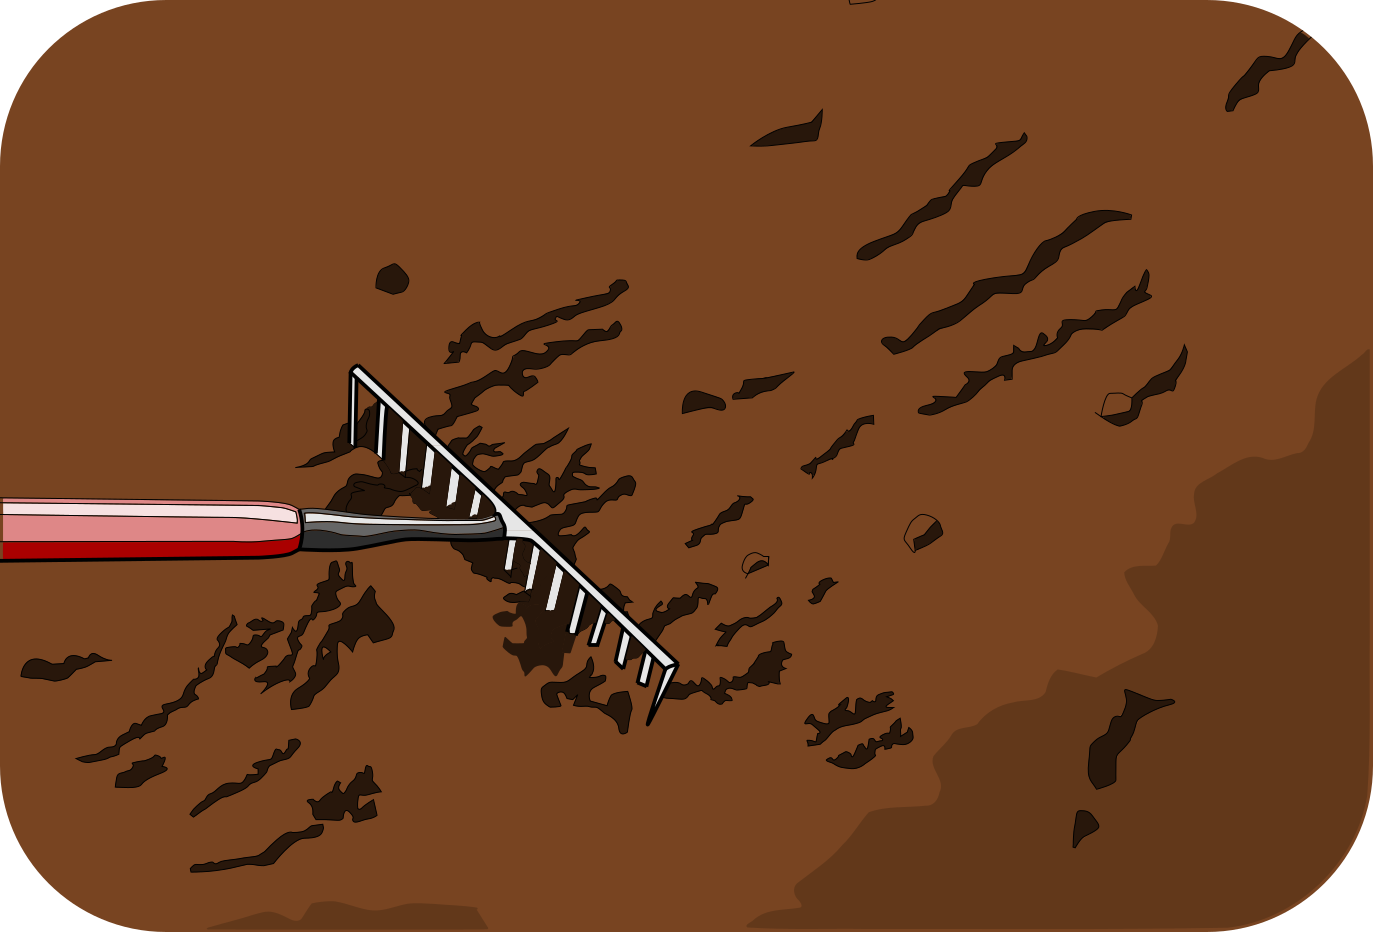
Use a hard rake to smooth over the soil, creating an even, level surface.
Mulching is a must in every garden. Mulch is any layer of material on top of the soil that serves to slow weed germination and growth, minimize evaporation of water, regulate soil surface temperatures, and increase your garden’s aesthetics by providing a uniform ground surface. For native plant gardens we recommend natural materials for mulch – leaves, wood chips, straw, or bark mulch are best as they add nutrients to the soil as they decompose.
“Establishment” is the adjustment period after a plant is introduced to a new site or container. Transplant shock is indicated by wilting or leaf drop.
The plant must grow new roots into the surrounding soil, such that eventually its root mass will exceed the mass of aboveground parts. Help the plant through this adjustment by monitoring to ensure that the soil is moist, mulching to retain more moisture, and providing temporary shade when planting under sunny, hot conditions.
Don’t over-water; use your fingers to probe the top of the soil to see if it is dry, mushy-wet, or “just right” (loose and humid).
Native trees and shrubs will benefit from pruning out dead, diseased, or weak branches; allowing for greater sunlight penetration, and promoting air flow.
Although every species is different, it is generally wise to wait until after a plant has finished flowering before you begin pruning.
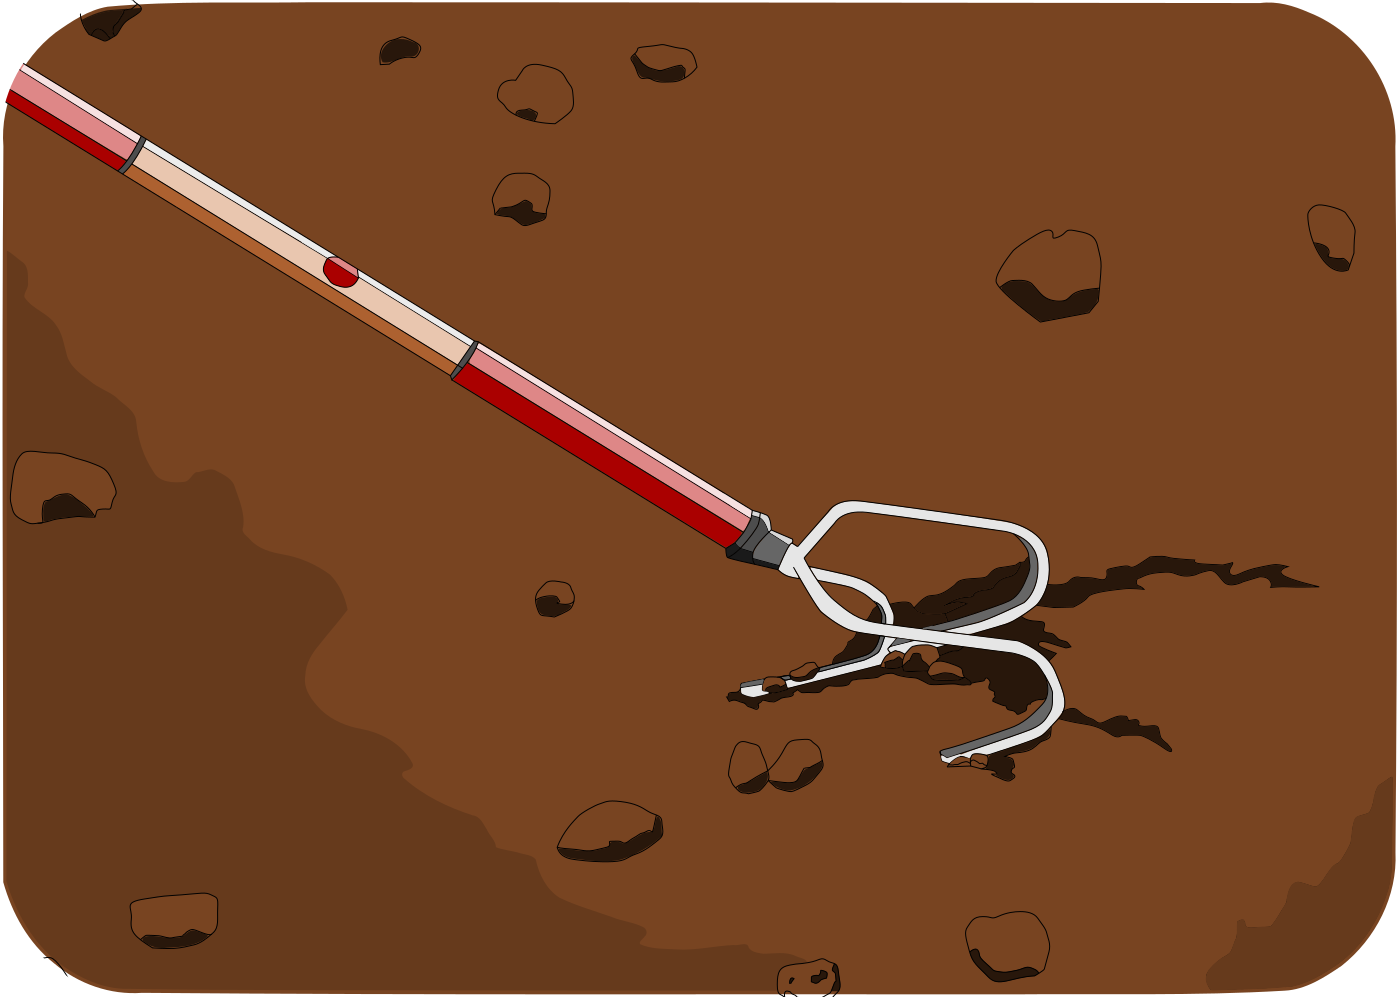
Very small, shallow-rooted weeds can be removed from the soil using a Dutch hoe.
For larger weeds, use a garden fork to dig them up by the roots. (Using a fork reduces damage to the roots of neighbouring plants.) If you find invasive species in your garden, deal with them as quickly as possible, before the population can grow larger. If noxious weeds such as Japanese knotweed or Giant hogweed are present, you may wish to consult a professional. In some cases reporting the invasive plants to your provincial or municipal government could be warranted.
Consider taking an Integrated Pest Management approach. This method seeks to reduce pest populations to manageable levels, using natural methods and preventative measures to cause the least disruption. These can include choosing appropriate locations for new plantings (healthy plants are less susceptible to pest infestations), removing diseased plants, regularly inspecting plants for signs and symptoms of pests and good record-keeping, use of pest barriers/traps/manually removing insects from plants, and responsible use of pesticides.
